
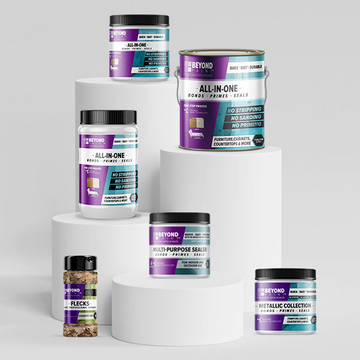

A kitchen makeover doesn't have to mean replacing your cabinets or spending weeks on complicated prep work. With Beyond Paint®, you can give your existing cabinets a completely new look with no stripping, no sanding, and no priming required.
For this makeover, we're using Licorice, a true matte black that gives traditional or dated cabinets a dramatic, modern update.
Beyond Paint is an all-in-one formula that combines a bonder, primer, and sealer, helping you achieve a smooth, uniform and durable finish in just two coats.
What You'll Need
- Beyond Paint in Licorice
- General-purpose degreaser, such as Simple Green or Zep Degreaser
- Clean cloths
- 3/8-inch microfiber or woven roller
- Paint tray
- Painter's tape, if desired
- Screwdriver, if removing cabinet hardware
Step 1: Remove Hardware
Remove cabinet knobs, pulls and handles if desired.
You can also remove cabinet doors and drawers for easier access while painting.
Pro Tip: Label your doors and hardware as you remove them so everything goes back where it belongs.
Step 2: Clean and Degrease
This is the most important preparation step.
Kitchen cabinets can collect grease, cooking oils and residue over time, so thoroughly clean the entire surface with a general-purpose degreaser.
Make sure the surface is completely clean, dry, grease-free, oil-free and wax-free before painting. Step
3: Let the Surface Dry
Allow the cabinets to dry completely before applying Beyond Paint.
There is no need to strip the existing finish, sand the cabinets or apply a separate primer. That's where Beyond Paint makes this project different.
Step 4: Apply Your First Coat
Pour Beyond Paint into your paint tray and apply it using a 3/8-inch microfiber or woven roller for the best results.
Apply an even coat, working in manageable sections.
Don't overload your roller. Smooth, even application will help create the professional-looking finish you're after.
Beyond Paint can also be applied using an airless or HVLP sprayer.
Step 5: Allow to Dry
Allow a minimum of two hours between coats.
Two coats are encouraged for full coverage.
Step 6: Apply the Second Coat
Apply your second coat using the same technique.
The second coat helps achieve full, even coverage and the finished look of your Licorice cabinets. Step
7: Reinstall Your Hardware
Once the cabinets are ready to handle, reinstall your doors, drawers and hardware. Step back and enjoy your new kitchen.
Same cabinets. Completely different look.
Why DIYers Love Beyond Paint
Beyond Paint was created to make painting projects easier. Its water-based, all-in-one formula combines a bonder, primer and sealer, so you can transform existing surfaces without the traditional stripping, sanding and priming process.
Beyond Paint bonds to a wide variety of surfaces, including cabinets, countertops, furniture, raw wood and previously finished surfaces.
It's also specifically engineered for both indoor and outdoor projects.
Three things to remember:
- No stripping
- No sanding
- No priming
Just clean, dry and paint.
Frequently Asked Questions
Can you paint kitchen cabinets without sanding?
Yes. Beyond Paint is designed to be applied without stripping, sanding or priming. The surface simply needs to be clean and dry and free of grease, oil and wax before application.
Do I need to prime before using Beyond Paint?
No. Beyond Paint is an all-in-one formula containing a bonder, primer and sealer.
How many coats of Beyond Paint should I use?
Two coats are encouraged for full coverage, with a minimum of two hours of drying time between coats.
What roller should I use with Beyond Paint?
A 3/8-inch microfiber or woven roller is recommended for the best results.
What surfaces can Beyond Paint be used on?
Beyond Paint can bond to cabinets, countertops, furniture, doors, as well as a variety of other surfaces.
Can Beyond Paint be used indoors and outdoors?
Yes. Beyond Paint is specifically engineered for both indoor and outdoor projects.


