
Are your kitchen cabinets begging for a makeover, but the thought of sanding, stripping, and priming has you putting it off? With Beyond Paint, you can turn those tired cabinets into a dazzling centerpiece with minimal effort and maximum results. Let’s dive into this easy DIY transformation and show you how to achieve a bright, refreshing look using the color Bright White.
Prep Time: A Clean Slate
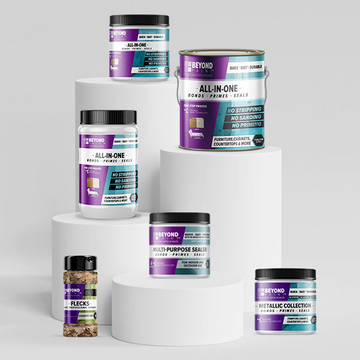
The first step to any successful paint job is proper prep, and it’s easier than you think! Forget the tedious sanding and priming—Beyond Paint has you covered with its all-in-one formula that includes a primer, bonder, and sealer. All you need is a clean surface for the paint to adhere to.
Here’s how to do it:
- Grab a degreaser like Simple Green, Zep Degreaser, or a simple vinegar and water mix.
- Wipe down all cabinet surfaces thoroughly, making sure to remove any grease or grime.
Once you’re done cleaning, it’s time to get straight into the fun part—painting!
The Star of the Show: Bright White
We’re using Bright White for this project, a crisp, clean color that brightens any kitchen and makes the space feel new. Applying Beyond Paint is a breeze, thanks to its self-leveling properties.
Here’s what you’ll need:
- A microfiber roller (3/8-inch nap is perfect!)
- An optional stippling brush for those tricky creases and corners.
The microfiber roller works like magic, ensuring a smooth, even finish every time. Best of all, you can roll it in any direction, and the paint will self-level to perfection.
Coat One and Done (Well, Almost)
Start by applying your first coat of paint. There’s no need to stress about getting it perfect on the first try—Beyond Paint is designed for excellent coverage in just two coats.
After the first coat is applied, let it dry for 2-4 hours. Grab a cup of coffee, catch up on your favorite show, or plan out your new cabinet hardware while you wait.
Once the first coat is dry, apply your second coat of paint. That’s all it takes to achieve a professional, full-coverage finish!
Optional: Add Extra Protection
If your cabinets are in a high-traffic area or see a lot of daily wear and tear, consider adding a little extra protection. Beyond Paint’s Multi-Purpose Sealer is a great way to ensure long-lasting durability.
Here’s how to apply it:
1. Wait 3-5 days after your paint job to allow proper curing.
2. Apply 2-3 thin coats of the sealer, allowing 2-4 hours of drying time between coats.
3. If you’d like a third coat, wait a full week after the second coat to apply it.
Finishing Touches
What’s a fresh coat of paint without a little hardware upgrade? Swap out those old knobs and pull for something modern or stylish to complete the transformation.
With Beyond Paint, you’ve achieved a budget-friendly kitchen cabinet makeover that looks like it came straight out of a design magazine. No stripping, no sanding, no priming—just amazing results with minimal effort.
Ready to Get Started?
Whether you’re refreshing your kitchen, bathroom, or furniture, Beyond Paint is your go-to solution for easy, professional-quality transformations. Grab your microfiber roller and shop Beyond Paint today to start your next DIY project!
Happy painting!


