Step 1: Quick + Easy Prep
Before breaking out the paint, give your nightstand a quick cleaning. This small step makes a huge difference in how well the finish sticks and how long it lasts. Spray the surface with a general-purpose degreaser, then wipe it down with a cloth. That’s all it takes—no sanding, stripping, or priming needed. Beyond Paint is designed to cut out the hassle and keep DIY projects stress-free.
Step 2: Get Your Paint Ready
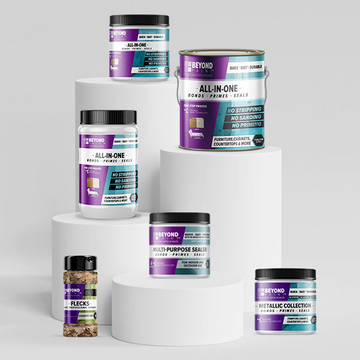
Shake the container well before opening. Beyond Paint is double-sealed, so remove both layers before stirring. What makes it so convenient is the built-in bonder, primer, and sealer. With everything included, you’ll save time, space, and cleanup.
Step 3: First Coat Application
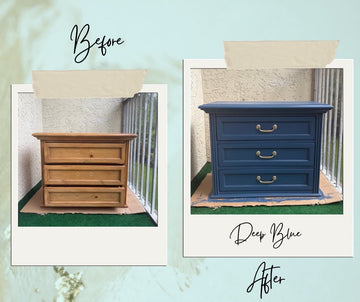
Here’s where the transformation starts. Using a 3/8" microfiber roller, apply the first coat of Beyond Paint. For this project, we’re going with Deep Blue— a rich, saturated blue that creates a sense of drama and sophistication. The paint naturally self-levels, which means you don’t need to worry about visible roller marks or uneven coverage. Just roll it on, and the finish will smooth itself out. Perfect for beginners and pros alike.
Step 4: Let It Dry + Upgrade the Hardware
While the first coat dries (give it at least 2 hours), turn your attention to the details. Updating the knobs or handles with a coat of spray paint is a simple but impactful change that ties the whole makeover together.
Step 5: Second Coat for Full Coverage
Once the nightstand is dry, roll on your second coat. This is where Deep Blue really pops. And because Beyond Paint seals as it cures, you can skip the topcoat. The finish is durable enough for everyday use.
Step 6: Finishing Touches
After the second coat is completely dry, reattach the hardware and admire your refreshed piece. What once blended into the background is now a bright, updated nightstand that brings new life to your space.
Features
Easy Nightstand Makeover: Deep Blue Transformation with Beyond Paint