Marble and Quartz countertops can be pricey and often out of remodeling budgets, but with Beyond Paint ® we can show you how to achieve this look yourself for about $100 or less.
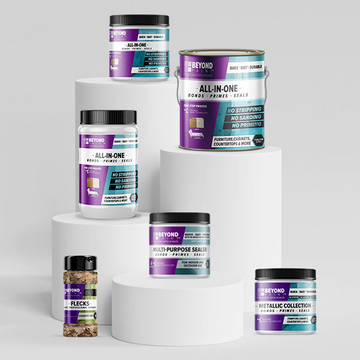
Items used to create the look in this video include Bright White Pint (base color), Soft Gray Pint (marble/vein color) you can also use a 2oz sample size as you will most likely have paint leftover with a pint, Sealer Pint (topcoat), Travel size spray bottle filled with water (not included in our kits), Small paintbrush for veining (not included in our kits), Toolkit that includes Tray, Roller head, Roller Handle, Natural Bristle brush for creviced areas. Pints will cover 50+ sq ft with two coats.
1. Clean and degrease the entire surface with a degreasing product.
2. Tape any areas you do not wish to paint such as the backsplash.
3. Brush crevices or corners first and then rolling over them for the most even finish
4. Before creating veins for your “marble look” make sure to have a sample piece of your choosing from the store or a picture of the look you want to follow. This will help guide you in proper spacing and positioning the veins throughout the entire countertop. If you mess up you can always wait for it to dry and paint over.
5. Using a fine brush loosely hold it and wiggle and twist the lines avoiding straight lines for the most natural-looking waves
6. When creating the veins be sure to start and end the countertop going in the same direction like a traditional marble pattern would (to create the most accurate effect)
7. While the veins are wet spray water on them with a small travel size bottle and allow the paint to bleed
8. Using the natural bristle brush in the kit and lightly dab the vein and then you can brush it lightly horizontally to make it look more dispersed. This way every vein will be unique.
9. Start with fewer veins and then step away and observe to fill in any sparse areas. This will be easier than undoing what you did. And will allow you to successfully add more depth
10. Don’t neglect the edges of the countertop and make sure to marble those as well.
11. Review drying times before adding sealer and mention waiting 4-6 hours. Ideally overnight to apply a topcoat if possible. The sealer will go on cloudy but dry clear so light even coats are recommended. This way you won’t trap too much moisture in between coats.
Contact us at info@beyondpaint.com with any additional questions!

