
Typically, painting a garage door involves multiple steps: cleaning, sanding, priming, and then painting.
This can be a time-consuming and physically demanding process. However, with Beyond Paint, these
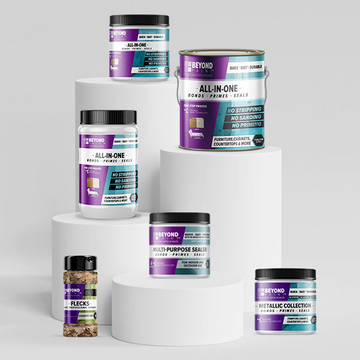
steps are combined into one convenient formula. Beyond Paint with a built-in bonder, primer, and sealer
makes it possible to skip the sanding and priming stages, saving you time and energy.
Here’s why this approach is ideal for your garage door:
● Durability and Protection: The built-in bonder ensures the paint adheres strongly to the surface,
while the primer helps with coverage and the sealer adds an extra layer of protection, especially
important for an exterior surface exposed to the elements.
● Time-Saving: The drying time between coats is just 2-4 hours, meaning you’ll have your garage
door looking fresh with minimal downtime. Additionally, Beyond Paint’s Multi-purpose sealer can
be applied 24 hours after painting, which further enhances durability without the need for
additional sanding or priming.
● Smooth, Professional Finish: The paint goes on smoothly, providing a sleek, even finish. Plus,
with proper sealing, your garage door will resist fading, cracking, and chipping, keeping it looking
great for longer.
Step-by-Step Guide to Painting Your Garage Door
Preparation:
1. Clean the Garage Door: Start by thoroughly cleaning the garage door with either Simple Green
or Zep Degreaser to remove any dirt, grime, or grease to ensure the paint will adhere properly.
Once clean, wipe the door dry with a clean rag to remove excess moisture.
2. Protect Surrounding Areas: Lay down drop cloths or plastic sheeting on the ground to protect
your driveway, floor, and surrounding surfaces from paint splatters. Use painter’s tape to mask off
the trim, windows, and any hardware you don’t want painted.
3. Choose your Color : Today we’ll be using the color Licorice, which is a true black with a smooth,
matte finish. This color is perfect for a dramatic contrast or a touch of edgy elegance.
Painting the Garage Door:
1. Apply the First Coat: Begin by applying the first coat of Beyond Paint with a 3/8th inch microfiber
roller this will ensure even coats and smooth, uniform coverage.
2. Drying Time: Allow the first coat to dry for 2-4 hours
3. Apply the Second Coat: After the first coat is dry, apply a second coat of paint. Make sure to
evenly coat the entire door for a flawless finish.
4. Drying Time Again: Allow the second coat to dry for 2-4 hours. Be patient to ensure the paint has time to cure properly between coats.
Sealing the Garage Door:
Wait 24 Hours after the second coat of paint has dried completely and now it’s time to apply Beyond
Paint’s Multi-Purpose sealer. The sealer will enhance the durability of the paint and protect the surface
from weather elements.
Apply Thin Coats of Sealer: Pour a small amount of the multi-purpose sealer into a paint tray. Use a
clean roller to apply 2-4 very thin coats of sealer over the painted surface. Be sure to wring out excess
sealer from the roller before applying. Thin, even layers are key to a smooth, long-lasting and durable
finish.
Finishing Touches:
Remove Painter’s Tape: Once the sealer is dry, carefully remove the painter’s tape from any masked
areas. Be gentle to avoid damaging the paint.
Admire Your Newly Transformed Garage Door: After the sealer has fully cured, step back and admire
your freshly painted, protected garage door! The smooth, glossy finish will enhance your home’s curb
appeal while providing lasting durability against the elements.
Painting your garage door with Beyond Paint is a time-saving and effective way to refresh your home’s
exterior. With just two coats of paint and a few simple steps, you can achieve a sleek, durable finish
without all the prep work of traditional painting methods. And, by applying Beyond Paint’s multi-purpose
sealer, you'll ensure that your garage door stays protected and looks great for years to come.
Follow these easy steps and enjoy a fresh new look for your garage door that will boost your home’s curb
appeal and withstand the elements!


