Welcome to another DIY project! Today, we're giving a fresh look to a front door using the incredible Beyond Paint. Follow along as we transform this door step-by-step.
Step 1: Cleaning the Door
The first step is to thoroughly clean the front door. I used Zep Degreaser and a cloth to remove any dirt and grime. This ensures that the paint adheres properly and provides a smooth finish.
Why Beyond Paint?
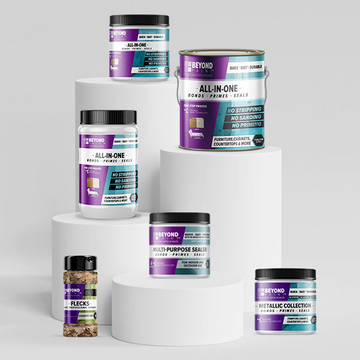
One of the key advantages of Beyond Paint is its all-in-one formula, which includes a primer, bonder, and sealer. This means there’s no need to strip, sand, or prime the surface before painting. Not only does this save a lot of time, but it also reduces the cost by eliminating the need for additional supplies.
Step 2: Applying the First Coat
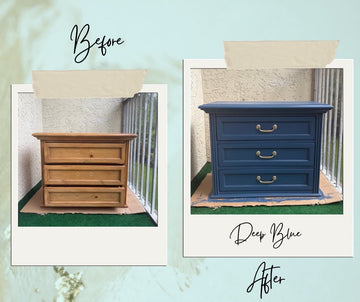
Now that the door is clean, it's time to start painting. For this project, I chose Deep Blue, my personal favorite. This color, along with five other designer colors and Beyond Paint’s multi-purpose sealer, is available at your local Lowe’s.
Using the 3/8 inch microfiber roller and paint tray from Beyond Paint’s toolkit, I began applying the first coat. The coverage with just the first coat is impressive, completely hiding the previous paint. Thanks to Beyond Paint's self-leveling agent, the finish is smooth and even, no matter the direction or angle of the roller.
Step 3: Drying Time and Second Coat
After applying the first coat, I let it dry for two hours. To ensure a durable and long-lasting finish, I then applied a second coat.
Step 4: Touching Up Details
Once the second coat was dry, I used a brush to touch up any missed details around the trim and handles. This step ensures a professional and polished look.

